SEO Crawler [Full Guide]
How to Use the Site Crawler
The Site Crawler is a browser-based technical-SEO crawler in the style of Screaming Frog – but with nothing to install. You point it at a website (or paste a list of specific pages), and it visits each page, records the technical facts about it (status code, title, headings, load time, and so on), runs 25 SEO checks on every page, and gives each page – and the whole site – a score with a clear, prioritised list of what to fix. This guide covers every part of it.
Open the Site Crawler
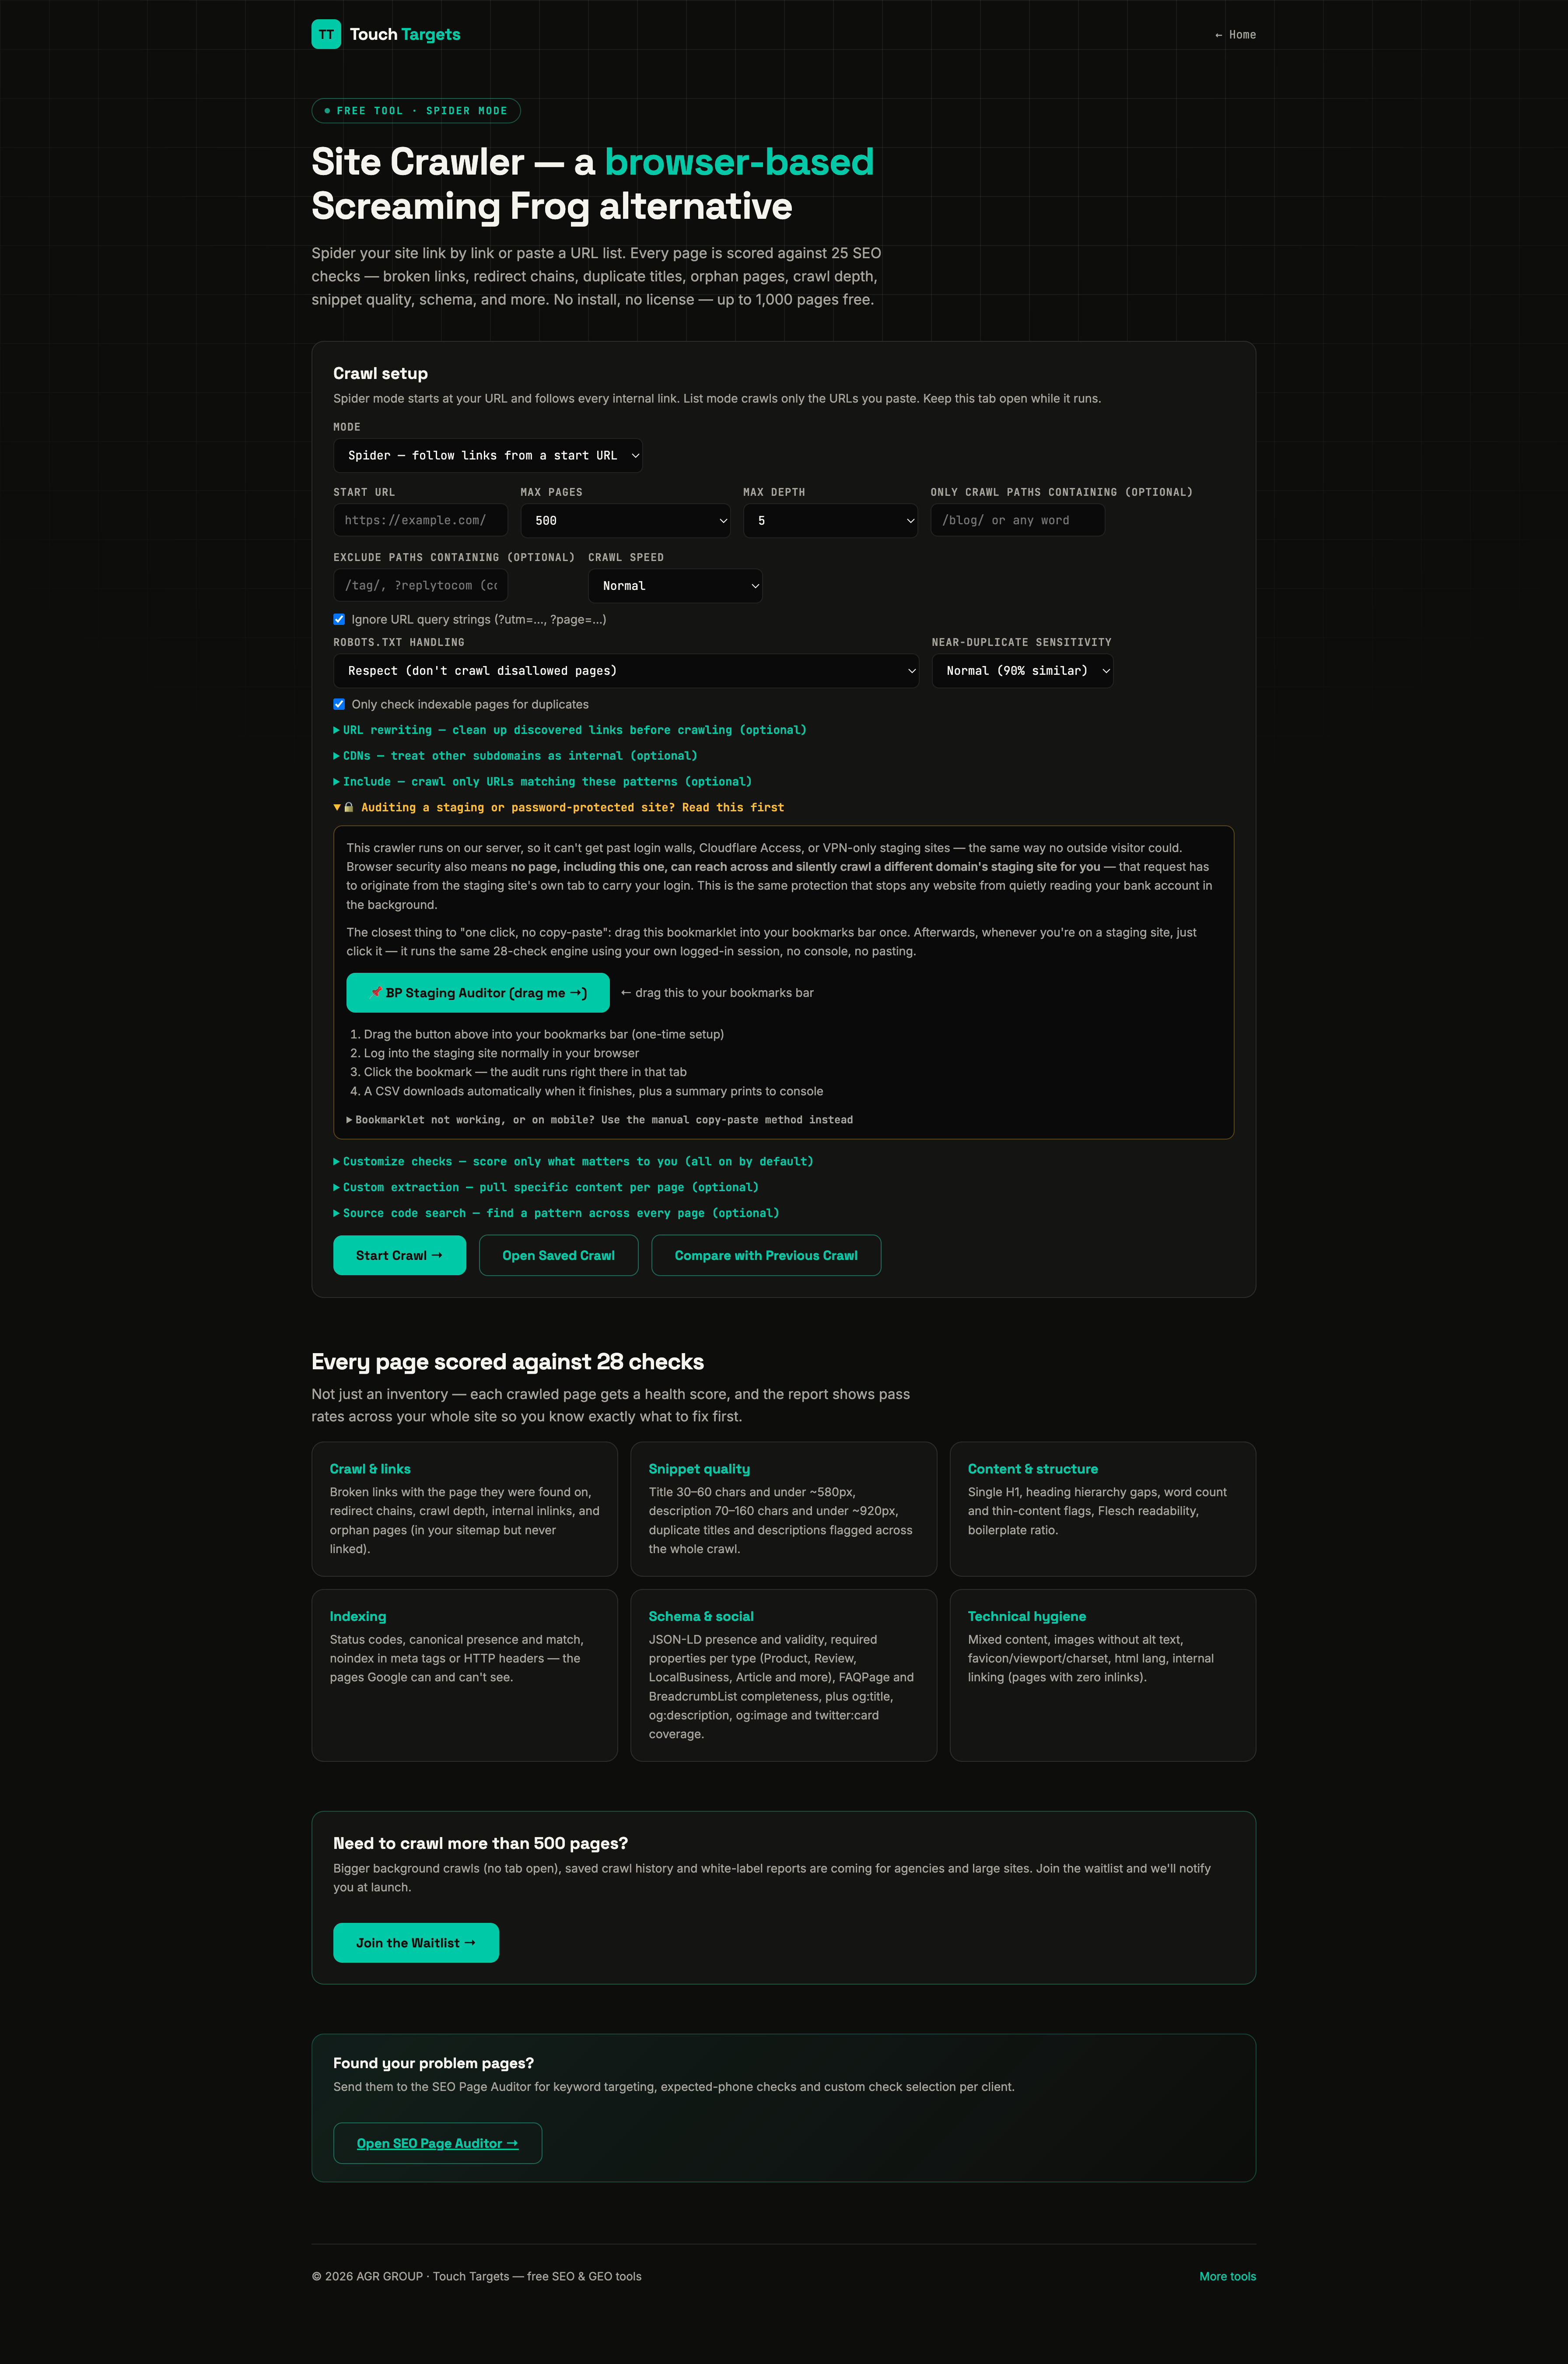
What it’s for and who should use it
Every site accumulates small technical problems over time – a page that quietly returns an error, a missing page title, an image with no alt text, a broken link, a page accidentally set to “noindex.” Individually they’re easy to miss; together they drag down how well a site ranks. The Site Crawler finds them all in one pass so you can fix the highest-impact issues first. It’s built for anyone doing SEO on their own or a client’s site: marketers, site owners, freelancers and small agencies who want a Screaming-Frog-style audit without buying and installing desktop software.
1. Two ways to crawl: Spider vs URL list
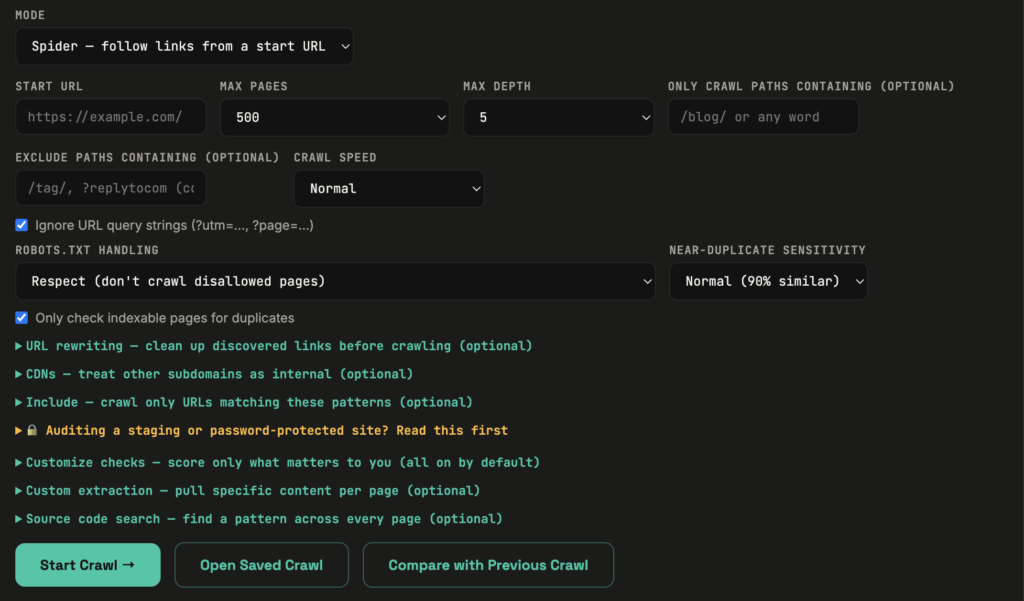
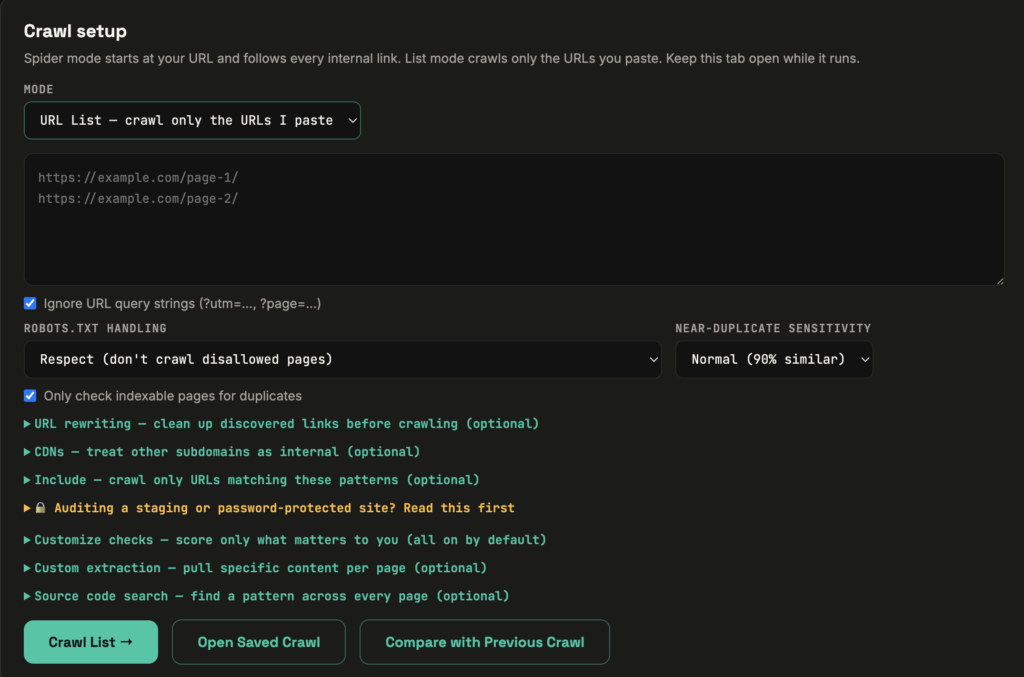
At the top you choose how the crawl works. The two modes suit different jobs:
- Spider crawl – you give it one starting URL (usually a homepage) and it follows the links it finds, page to page, discovering the site as it goes. Use this when you want to audit a whole site, or when you don’t already have a list of every URL. This is the mode you’ll use most.
- URL list – you paste a specific list of URLs (one per line) and it checks only those. Use this when you want to audit a hand-picked set of pages – for example, your most important landing pages, or a batch of URLs you just changed – without crawling the entire site.
2. The crawl settings
Before you start, a few settings control how the crawl behaves. Sensible defaults are set, but it helps to know what each does:
- Page limit – the maximum number of pages to crawl. Keep this modest for a first look (say 100–200) so you get results quickly; raise it for a full audit of a large site.
- Crawl depth – how many “clicks” deep from the start page the spider is allowed to go. Depth 1 is just the pages linked from the homepage; higher numbers reach deeper into the site. Lower depth = faster, more focused; higher depth = more complete.
- Delay – a small pause between requests. A short delay is polite to the server and avoids hammering the site; increase it if you’re crawling a small or slow host.
- Include subdomains – off by default, so the crawl stays on the main domain. Turn it on if you want it to also follow links to subdomains (like blog.example.com).
- Respect robots.txt – when on, the crawler obeys the site’s robots rules and skips anything disallowed, exactly as Google would. Leave this on to see the site the way search engines do.

3. Running a crawl and reading the live progress
Enter your URL (or paste your list), check the settings, and start the crawl. As it runs, a live progress area shows you what’s happening in real time – how many pages have been crawled, how many are queued, and the current page being fetched. Because the crawl runs in your browser (with a small server helper that fetches each page), you can watch it work and stop it at any point; whatever it has already crawled stays in the results.
4. The results table
Every crawled page becomes a row in the results table. The columns give you the technical snapshot of each page at a glance. You’ll typically see:
- URL – the page’s address.
- Status code – the server’s response: 200 means OK; 3xx means a redirect; 4xx means not found or forbidden; 5xx means a server error. Anything that isn’t 200 is worth a look.
- Title and title length – the page’s <title> and its character count.
- Meta description – present or missing, and its length.
- H1 – the page’s main heading.
- Word count – how much text is on the page (a flag for thin content).
- Load time and size – how long the page took to fetch and how heavy it is.
- Indexability – whether the page can be indexed, or is blocked by a “noindex” rule.
- Issues / score – how many checks the page failed and its overall score.
Click any column header to sort by it – for example, sort by status code to pull all the errors to the top, or by score to find your weakest pages.
5. The per-URL detail drawer
Click any row to open a detail drawer for that single page. This is where you see the full picture for one URL: every one of the 25 checks, which passed and which failed, the exact values found (the actual title text, the meta description, the number of images missing alt text, the redirect chain, response headers like x-robots-tag and last-modified), and the page’s own score. Use the table to spot problem pages, then open the drawer to understand exactly what’s wrong with each one.
6. The 25 checks, explained
Every page is run through 25 checks, grouped below by what they cover. (Your scorecard groups them into a score – if a label reads slightly differently on your screen, match it to what you see.)
Indexability and response
- Status code – the page returns a healthy 200, not an error.
- Redirects – the page loads directly rather than through a long redirect chain.
- Indexable – the page isn’t blocked by a “noindex” meta robots tag or X-Robots-Tag header.
- Canonical tag – the page declares a canonical URL, ideally pointing to itself, to avoid duplicate-content confusion.
- Not blocked by robots – the page isn’t disallowed in robots.txt.
Title tag
- Title present – the page has a <title>.
- Title length – it’s within a sensible range (roughly 50–60 characters), not empty or cut off.
- Title unique – it isn’t duplicated on other pages.
Meta description
- Meta description present – the page has one.
- Meta description length – it’s a useful length (roughly 150–160 characters).
- Meta description unique – not duplicated across pages.
Headings
- H1 present – the page has a main heading.
- Single H1 – exactly one H1, not zero and not several.
- Heading structure – headings follow a logical order.
Content
- Word count – the page has enough real content, not a thin or empty page.
Images
- Image alt text – images have descriptive alt attributes (important for accessibility and image search).
Links
- Broken links – internal and external links don’t point to error pages.
- Internal linking – the page is linked to and links out, so it isn’t orphaned.
Technical and performance
- Load time – the page responds quickly.
- Page size – the HTML isn’t unnecessarily heavy.
- HTTPS – the page is served securely.
- Mobile viewport – a viewport meta tag is present so the page works on phones.
Structured data and social
- Structured data – the page includes schema/JSON-LD markup that helps search engines (and AI answers) understand it.
- Open Graph / social tags – tags that control how the page looks when shared on social media.
That set covers the technical, on-page and crawlability factors that most affect how a page ranks – which is why fixing failed checks here tends to move the needle.
7. Reading the scorecard
Beyond the per-page issues, the crawler rolls the checks into a score so you can judge health at a glance. Each page gets its own score based on how many checks it passes, and the site-wide scorecard summarises the whole crawl – your overall standing plus where the biggest problems cluster. Think of the score as a quick health grade: use it to compare pages and to track improvement, but always open the detail drawer to see the specific fixes behind a low score.
8. Filtering, sorting and exporting
Once a crawl finishes you can slice the results:
- Filter to see only pages with a certain problem (for example, only pages missing a meta description, or only non-200 status codes), so you can work through one issue type at a time.
- Sort by any column to prioritise – score, status code, load time, and so on.
- Export the results (CSV) to keep a record, share with a client, or work through the fixes in a spreadsheet.
9. A practical workflow
To turn a crawl into real improvements, work in this order:
- Crawl the site (spider mode, a reasonable page limit) and let it finish.
- Fix the errors first. Sort by status code and deal with any 4xx and 5xx pages, and broken links – these hurt users and search engines most.
- Fix indexability surprises. Check for pages accidentally set to “noindex” or blocked that shouldn’t be, and pages missing or with conflicting canonicals.
- Clean up titles and meta descriptions. Add missing ones, fix duplicates, trim overly long ones – these directly affect click-through from search.
- Handle content and images. Address thin pages and add alt text.
- Re-crawl after your fixes to confirm the scores went up and the issues are gone.
Tip: don’t try to fix everything at once. Sort by the issue that appears most often across the site – fixing one recurring problem (like a missing meta description template) can lift dozens of pages in a single change.
Open the Site Crawler